Raise Workflow Created Signal
This is configurable on both the Command Bar menu types.
Overview
A Signal Start Event can be triggered manually via a menu button, to activate any Workflows with Signal Start Events that are listening for when an item is created on a specific table.
This is because it is sometimes desirable to trigger a "created" Signal Start Event on an item that has been created previously.
When a new invoice item is created, a workflow is triggered that automatically sends the invoice to the customer. However, what is a customer requests the invoice be sent again? This requires the workflow to be triggered on the invoice item again, as though the item had just been created.
When a Raise Workflow Created Signal menu button triggers a Workflow, a confirmation box will appear in the bottom-right corner of the site.
Configuring a Menu Button to Launch a Workflow
-
Navigate to the menu configuration screen of either an Item or the Sidebar.
-
Create a new menu item by pressing the + New Menu Item button
- Select + New Blank Item
-
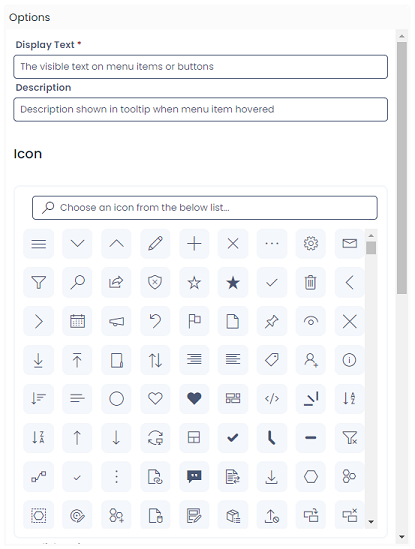
Provide the menu button with its Display Text that will appear to the user on the button
-
Optional: Provide a Description of what the menu button will accomplish
-
Optional: Select an Icon to describe the workflow action

-
Scroll down, and set the On-Click Action to Raise Workflow Created Signal
-
Optional: If configuring a Command Strip menu button, set the location of the item (Both | Item | Table)
-
Optional: Conditional logic can also be applied using OData filter syntax to only trigger a workflow when certain conditions are met. For example, to only trigger a workflow when the Status field is set to "Completed" would require the following filter: `status eq "Completed"
-
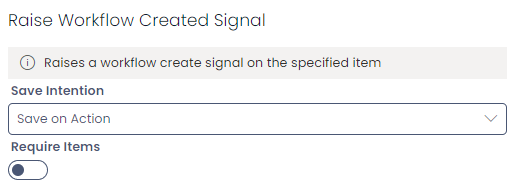
Scroll down to the Raise Workflow Created Signal section
-
Set whether the menu button will trigger a save interaction

- Save the menu
Now, when the menu button is pressed, it will trigger any Workflow Processes that are listening for a created item on the configured.